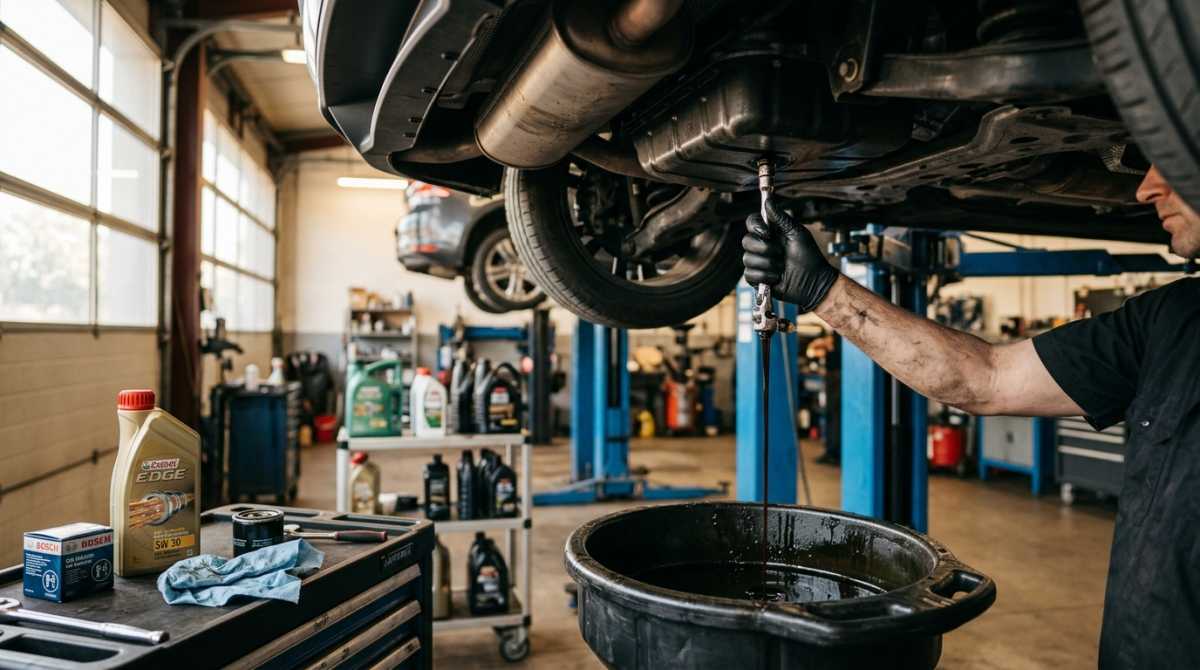
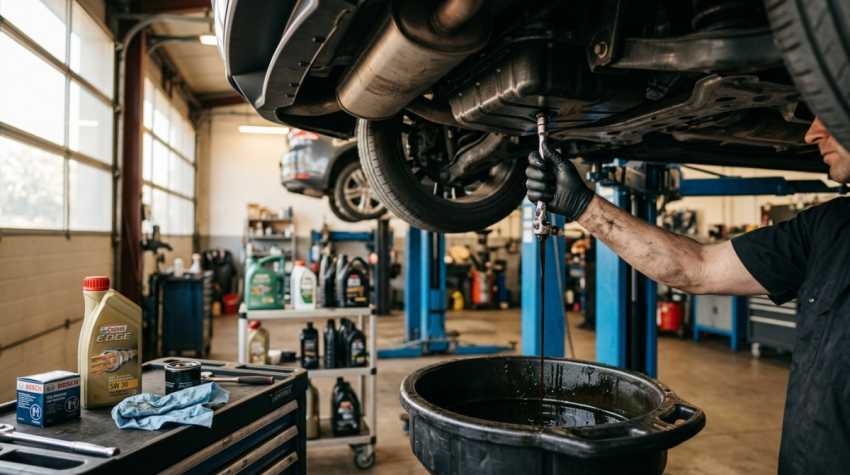
TL;DR: Learning how to change oil in a car can help you maintain your engine and reduce servicing costs. This guide explains how to choose the right engine oil, replace the oil filter, drain old oil safely and check the oil level. Always follow your vehicle manufacturer's instructions, as oil specifications and service intervals vary between cars.
Key facts:
- Oil and filter change prices vary depending on your vehicle, the oil required and where the work is carried out. DIY costs also depend on whether you already own the necessary tools.
- Some cars need an oil change every 5,000–7,500 miles, but others have different manufacturer-recommended service intervals.
- A straightforward DIY oil change may take around 30–60 minutes, although your first attempt could take longer.
- Using the correct engine oil and changing it at the recommended interval helps protect your engine against wear.
- Used engine oil must be disposed of responsibly. Check your local council's recycling-centre rules before taking it for disposal.
Why Is Changing Your Car's Engine Oil Important?
Engine oil plays an essential role in keeping your car running smoothly. It lubricates moving engine components, helps reduce friction, carries away heat and helps protect internal parts from wear.
Over time, engine oil can become contaminated and lose some of its protective properties. If you neglect the recommended servicing schedule, this can increase engine wear and, in severe cases, contribute to sludge build-up, restricted oil flow and expensive engine damage.
Learning how to change engine oil yourself can help you understand your car's maintenance needs and potentially reduce servicing costs. However, an oil change is not a substitute for a full service, which may include checks on your brakes, tyres, filters and other important components.
Before getting started, check whether your car is suitable for a DIY oil change. Some modern vehicles have complex undertrays, electronic oil-level monitoring systems or specific servicing procedures that make professional assistance the better option.
How Often Should You Change Your Engine Oil?
There is no single engine oil change interval that suits every car.
Some vehicles require an oil change around every 5,000–7,500 miles, while others have longer or shorter intervals depending on their engine, oil specification and maintenance schedule. Your car may use a fixed service interval, a flexible schedule or an onboard service indicator.
Always check your owner's manual or manufacturer's servicing information to find out how often your engine oil needs changing.
You may need to pay particular attention to your oil-change schedule if you regularly:
- Make short journeys where the engine does not fully warm up.
- Drive in heavy traffic with frequent stopping and starting.
- Tow a trailer or carry heavy loads.
- Use your car in other conditions that the manufacturer classifies as severe driving.
These conditions can place additional demands on engine oil. Some manufacturers specify shorter service intervals for this type of use.
Don't assume that fully synthetic oil automatically allows you to go longer between changes. Even if an oil is designed for extended service intervals, you should never exceed the interval approved for your vehicle.
What Engine Oil Does Your Car Need?
Choosing the correct engine oil is one of the most important parts of changing your car's oil.
Engine oils have different viscosities and specifications. You may see grades such as 5W-30, 0W-20 or 5W-40 on the packaging. These describe how the oil flows at different temperatures, but the viscosity grade alone does not tell you whether an oil is suitable for your engine.
Before buying engine oil:
- 1. Check your owner's manual for the recommended viscosity.
- 2. Confirm the manufacturer's required oil specification or approval.
- 3. Check how much oil your engine needs.
- 4. Make sure the oil is suitable for your specific engine and vehicle.
Using the wrong oil can affect engine protection and, in some cases, cause damage. Do not choose an oil based on price or the words 'premium' or 'fully synthetic' alone.
Synthetic vs Conventional Engine Oil
Synthetic and conventional engine oils differ in their formulation and performance characteristics. Some synthetic oils offer advantages in particular engines and operating conditions, but the best choice depends on your manufacturer's requirements.
Many modern engines require specific synthetic oils, while other vehicles may permit different approved formulations.
The most important thing is to use an oil that meets the required specification and follow the recommended oil-change interval. A more expensive oil is not automatically the right oil for your car.
Tools and Equipment You Need to Change Engine Oil
Before starting an engine oil change, gather the correct equipment. Having everything ready can make the job easier and reduce the risk of spills or mistakes.
Essential equipment:
- New engine oil: The correct type, specification and quantity for your vehicle.
- Replacement oil filter: Check whether your car uses a screw-on filter or a replaceable filter cartridge.
- Suitable spanner or socket set: For removing the sump drain plug.
- Oil filter wrench: If required for your particular filter.
- Oil drain container: Large enough to hold the full quantity of oil in your engine.
- Funnel: To help pour in fresh oil without spilling it.
- Suitable gloves and eye protection: To reduce contact with used oil and protect against splashes.
- Rags or paper towels: For cleaning up spills.
- Correct drain plug washer or seal: If your manufacturer specifies that it must be replaced.
You may also need a jack and axle stands if access underneath your car requires the vehicle to be raised. These must be suitable for the vehicle and used on firm, level ground at the manufacturer's designated lifting points.
Safety warning: Never work underneath a car supported only by a jack. If you cannot raise and support your vehicle safely, do not attempt the job. Consider using a professional instead.
How to Change Oil in a Car: Step-by-Step Instructions
Changing engine oil involves draining the old oil, replacing the filter and filling the engine with fresh oil. The exact procedure varies between vehicles, so use the instructions below alongside your manufacturer's guidance.
Step 1: Prepare Your Car Safely
Park your car on firm, level ground, apply the handbrake and switch off the engine before beginning work.
If your vehicle needs to be raised, use the correct lifting points and suitable axle stands, following the manufacturer's instructions. Use wheel chocks where appropriate.
Engine oil generally drains more easily when it is slightly warm. If your vehicle's procedure recommends warming the engine, do so briefly before switching it off and allowing the engine and oil to cool sufficiently.
Hot oil can cause serious burns, so never drain it while it is dangerously hot.
Step 2: Locate the Sump Drain Plug and Oil Filter
Consult your owner's manual or a reliable vehicle-specific workshop guide to identify the oil sump drain plug and oil filter.
The drain plug is usually located at the bottom of the engine sump. The oil filter's position and design vary between vehicles, and some cars require an undertray or splash shield to be removed first.
Make sure you can access both components safely before continuing.
Step 3: Drain the Old Engine Oil
Position your oil drain container beneath the sump drain plug, allowing enough room to catch the oil as it flows out.
Using the correct tool, carefully loosen the drain plug. Remove it in accordance with the manufacturer's procedure, keeping your hands clear of the hot oil.
Allow the oil to drain into the container. Take care not to lose the drain plug or its washer.
Once the oil has drained, inspect the plug and sealing washer. Replace the washer or seal if required by the manufacturer, and check the drain plug's threads for signs of damage.
Refit the drain plug using the specified tightening torque where available. Avoid overtightening it, as this can damage the sump or its threads.
Step 4: Replace the Oil Filter
Replacing the oil filter is an important part of an engine oil change. The filter collects contaminants and helps keep the oil circulating through the engine clean.
Position your drain container beneath the filter to catch any remaining oil. Remove the old filter using the appropriate method for your vehicle.
If your car uses a replaceable cartridge, follow the instructions for removing the housing and fitting the new cartridge and seals. If it uses a screw-on filter, check the instructions supplied with the replacement.
Before fitting the new filter, check whether its rubber seal needs a light coating of fresh engine oil. Some filters require this, while cartridge designs may have different installation instructions.
Fit the new filter according to the manufacturer's or filter supplier's guidance. Do not assume that every filter needs the same tightening method or number of turns.
Check that the old seal has not remained attached to the engine, as fitting a new filter against an old seal can cause an oil leak.
Step 5: Add Fresh Engine Oil
Once the drain plug and new filter are correctly fitted, make sure any removed covers are reinstalled as instructed.
Lower the vehicle safely if it was raised, then park it on level ground.
Locate the oil filler cap, usually marked with an oil-can symbol. Remove it and use a clean funnel to add the correct engine oil.
Check your vehicle's specified oil capacity, but avoid pouring in the entire stated quantity at once. Depending on the vehicle, the published capacity may vary according to whether the filter has also been replaced.
Add most of the required oil first, then allow time for it to settle before checking the level. This helps reduce the risk of overfilling.
Step 6: How to Check Engine Oil
Knowing how to check engine oil is just as important as knowing how to change it.
Many cars have a traditional dipstick, while some newer models use an electronic oil-level monitoring system. Follow the manufacturer's instructions for your particular vehicle.
If your car has a dipstick:
- Make sure the car is parked on level ground and the engine is switched off.
- Wait for the period specified in the owner's manual to allow the oil to settle.
- Remove the dipstick and wipe it clean.
- Reinsert it fully, then remove it again.
- Check that the oil level is between the minimum and maximum marks.
If the level is too low, add a small amount of the correct oil and check again. Avoid filling above the maximum mark, as overfilling can cause engine problems.
If your car has an electronic oil-level system:
Use the onboard display or the procedure specified in the manual. The engine may need to be at a particular temperature or switched off for a certain period before a reading is available.
Step 7: Start the Engine and Check for Leaks
Once the oil level is correct, make sure the filler cap and dipstick are securely in place and that all tools have been removed from the engine bay.
Start the engine according to the manufacturer's instructions and check the dashboard for warning lights. If the red oil-pressure warning light remains illuminated, switch the engine off immediately. Do not continue running it to see whether the light goes away.
If the warning light behaves normally, inspect the drain plug and filter area for signs of leakage, provided you can do so safely.
Switch off the engine and recheck the oil level using the manufacturer's recommended procedure. Top up carefully if necessary.
Before driving, confirm that the filler cap is secure, there are no visible leaks and all removed components have been refitted correctly. If you are unsure whether the job has been completed safely, seek professional assistance.
What Happens If You Don't Change Your Engine Oil?
Neglecting engine oil maintenance can increase the risk of wear and mechanical problems.
As oil ages, it can become contaminated and lose some of its ability to protect moving engine components. In severe cases, poor maintenance can contribute to sludge deposits, restricted oil flow and significant engine damage.
Possible warning signs of an oil-related problem include:
- An oil-pressure warning light.
- Unusual knocking or other new engine noises.
- Visible oil leaks.
- An oil level that repeatedly drops.
- Oil that appears unusually contaminated during a level check.
These symptoms do not all mean that your oil simply needs changing. For example, an illuminated oil-pressure warning light may indicate a serious lubrication problem that requires immediate attention.
If the red oil-pressure warning light comes on while driving, stop somewhere safe and switch off the engine as soon as possible. Do not continue driving until the problem has been investigated.
Regular oil-level checks and following your vehicle's service schedule can help reduce the risk of avoidable engine damage.
How Much Does an Oil Change Cost in the UK?
The cost of an oil and filter change depends on your car, the oil it requires, the type of filter and where the work is carried out.
Checkatrade's March 2026 guidance estimated that a professional oil and filter change could cost around £25–£200, with an average of approximately £100. These are estimates rather than fixed prices, and actual quotations can vary.
Changing the oil yourself may reduce labour costs, particularly if you already own the necessary tools. However, you still need to pay for the correct oil, a replacement filter and any other consumables or equipment required.
Before deciding whether to do the job yourself, compare the total DIY cost with a professional quotation. If your car requires specialist equipment or the work involves safety risks you cannot manage confidently, professional servicing may be the more practical option.
How to Dispose of Used Engine Oil
Used engine oil must be handled and disposed of responsibly. Never pour it down a drain, onto the ground or into household waste.
Allow the oil to cool, then transfer it carefully into a suitable, sealed container. Keep it away from children, pets, food and sources of heat.
Check your local council's household waste recycling centre rules before travelling. Not every centre accepts every type or quantity of automotive waste, and some have specific requirements for used oil and oil filters.
Avoid mixing used engine oil with other fluids, such as coolant or brake fluid, as this may affect how it can be accepted for disposal.
Your Engine Oil Change Checklist
Before considering the job complete, check that you have:
- Used the correct engine oil specification and quantity.
- Fitted the appropriate replacement oil filter and seals.
- Reinstalled the drain plug and replaced its washer if required.
- Tightened components according to the relevant instructions.
- Checked the oil level using the correct method.
- Secured the filler cap and refitted any covers.
- Checked for leaks and warning lights.
- Stored and disposed of the used oil responsibly.
Final Thoughts: Keep Your Car's Engine Properly Maintained
Learning how to change oil in a car can be a useful maintenance skill, helping you understand how your engine works and potentially reduce routine servicing costs.
The most important steps are choosing the correct oil, replacing the filter properly, following the vehicle-specific procedure and checking the final oil level. Safety should always come first, particularly when working underneath a vehicle or handling hot oil.
If you are unsure about any part of the process, consult your owner's manual, use a trusted vehicle-specific workshop guide or ask a qualified mechanic for help.
Your next steps:
- Check your owner's manual for your engine oil specification, capacity and service interval.
- Make sure you have the correct filter, tools and safety equipment before starting.
- Follow the manufacturer's instructions throughout the job.
- Check the oil level regularly between services and investigate any warning lights or unexplained oil loss.
Taking care of your engine oil is a straightforward way to support your car's maintenance and help keep it running as intended.